
This is a sponsored post written by me on behalf of Cricut. All opinions are 100% mine.

Make your kids their own personalized Back to school t-shirt and Backpack with Cricut Iron-on.

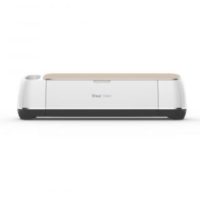
Today I am teaming up with Cricut (my favorite crafty company) to show you how to make your kid’s first day of school extra special by making them their own personalized Back to school t-shirt and Backpack with a Cricut, Iron-on, and Easypress.

I have to admit that over the years since I got my first Cricut, I have become obsessed with making my family custom clothes. Not only is it super easy to make customized clothes (with Iron-on & Infusible Ink) but each item is designed specifically for the wearer to fit their style and personality. Best of all it often saves me money.

Buying blank shirts is often cheaper than shirts with designs on them. And I can normally make multiple shirts with the same rolls of Iron-on. The same goes for accessories like the backpack I bought for my son. I was able to get a nicer backpack for less because it was a simple black rather than one of their kid’s styled backpacks.

It only takes a few minutes to whip of designs using Cricut Access assets in Cricut Design Space, and a few more minutes to cut, weed and apply the Iron-on with my Easypresses.

Best of all was how excited my son was when he saw the finished products! Because my 8-year-old is obsessed with video games I thought it would be fun to personalize his backpack and back to school shirt with a video game theme.

First, let’s talk about the backpack. I bought the EastSport black backpack at Walmart this week on sale for only $13. It was cheaper than all the fun designed backpacks. I found the main: “I paused my game to be here” design in Cricut access and sliced the pause button of the bottom so I could put it on the flap above the design on the front of the bag. Then for a final touch, I did a simple monogram for the upper part of the backpack. I didn’t want to put my son’s name on his bag due to safety concerns but my son loves having his monogram on his bag for he knows it’s his!

You can make your own personalized monogramed gammer backpack following the tutorial below or pin to your DIY pin board on pinterest to make later
Personalized Gamer Backpack

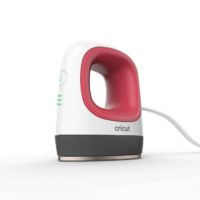
Personalize your children's backpack with your Cricut, Iron-on and an Easypress Mini
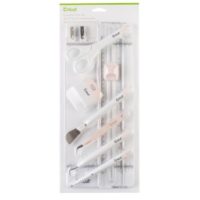
Tools
Instructions
Cutting Instructions
Open Cricut Design Space Canvas for Monogrammed Gammer Backpack -->HERE

Insert the Child's Initials (for monogram) then slice them one at a time out of the inner box.
Select both boxes and select attach (so the Cricut will cut them out together.

Click to make and click to Mirror Image the Iron-on Mats

select Iron-on from the materials

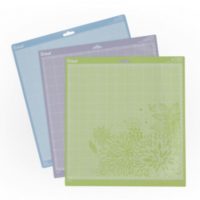
Place Iron-on on a standard grip mat shiny side down.

After cutting use the weeding tool from the essential tool kit to weed-cut designs.

Repeat for the second color
Easypress Mini Instructions
Heat Easypress mini to the 1st heat setting
Place the easypress mat inside the backpack and place the design where desired on the backpack

Carefully press the design with Easypress mini carefully moving the easypress mini for 30 seconds

Let the Iron-on completely cool before peeling off the backing

Repeat for the rest of the designs.
Recommended Products
As an Amazon Associate and member of other affiliate programs, I earn from qualifying purchases.


Since I was going with a gamer theme for his backpack I thought it would be fun to make a custom back to school “Game On” shirt using the same two colors or Iron-on. Again, buying a blank shirt was cheaper than a shirt with a design on it would cost, so major Mom Win!

You can make your own Game On back to school shirt using the tutorial below, or pin to your DIY back t school board on Pinterest to make later.
DIY Back to School Game On T-Shirt

Make this Game On Back to school shirt in minutes with your Cricut, Iron-on & Easypress 2
Tools
Instructions
Cutting Instructions:
Open Cricut Design Space for Back to School Shirt -->HERE

Size the design to fit the shirt you are making. The design is currently sized for a kid's 6/7 size Medium shirt.
Click to Mirror Image the Mats

Place Iron-on shiny side down and select everyday Iron-on from the material list.
After cutting, use the weeding tool from the essential tool kit to weed the cut design.

-->Repete for the second mat
Easypress Instructions
Preheat Easypress to 315 (and set for 30 seconds)

Preheat the shirt on Easypress mat for 15 seconds
Place Iron-on designs on the shirt

Press firmly for 30 seconds

Flip shirt and press for 15 seconds
Let cool and peel off the backing

Notes
Please note that when applying iron-on to the backpack it is like when applying Iron-on to canvas. You need to let the iron-on completely cool before peeling the backing off. If you try to peel the backing off when it is still warm or hot the iron-on will come with it.
Recommended Products
As an Amazon Associate and member of other affiliate programs, I earn from qualifying purchases.


I love how the shirt and backpack turned out, and best of all so does my son! He is so excited for school to start on the 1st of September (when we always start our homeschool)

If you liked this post then check these out: (click on the photo to go to the post)

